Hair Cards For Painterly Art Style: A Geo Nodes Approach
She Hunts by Murska Digital
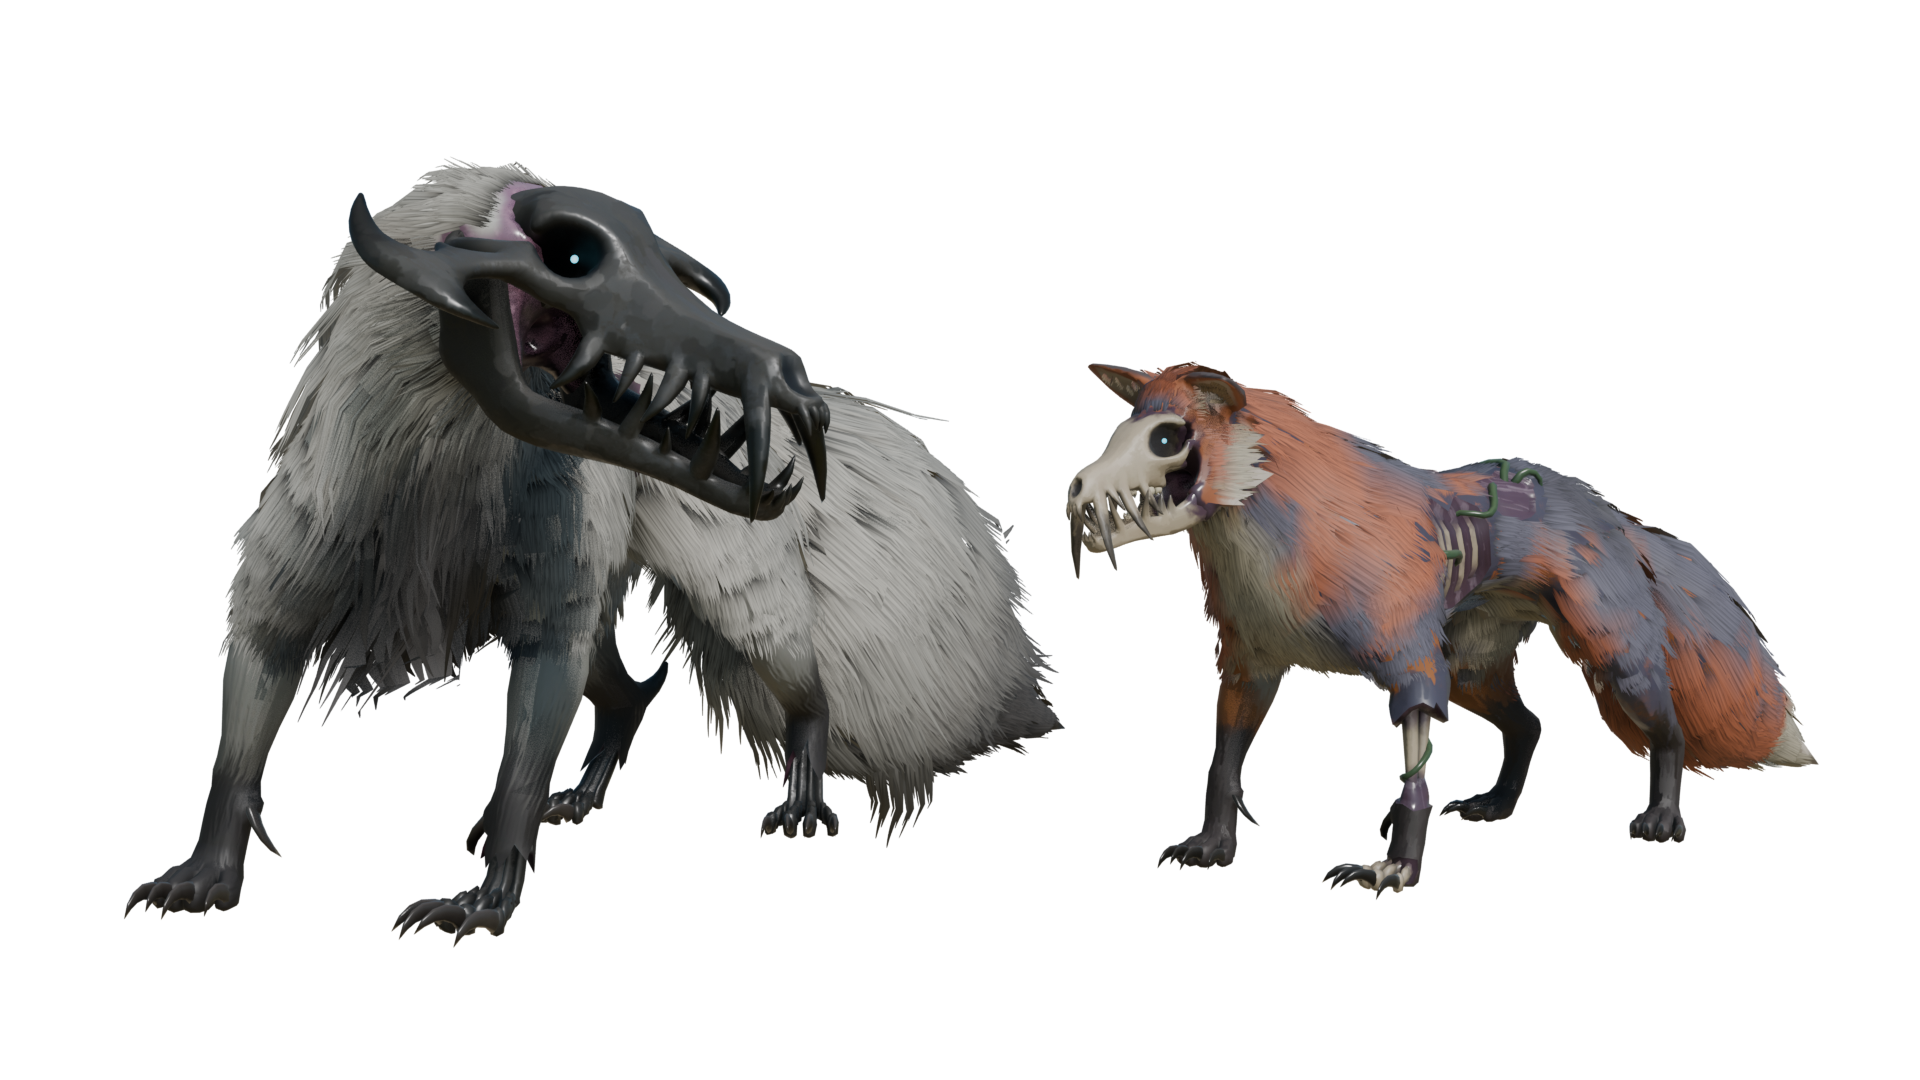
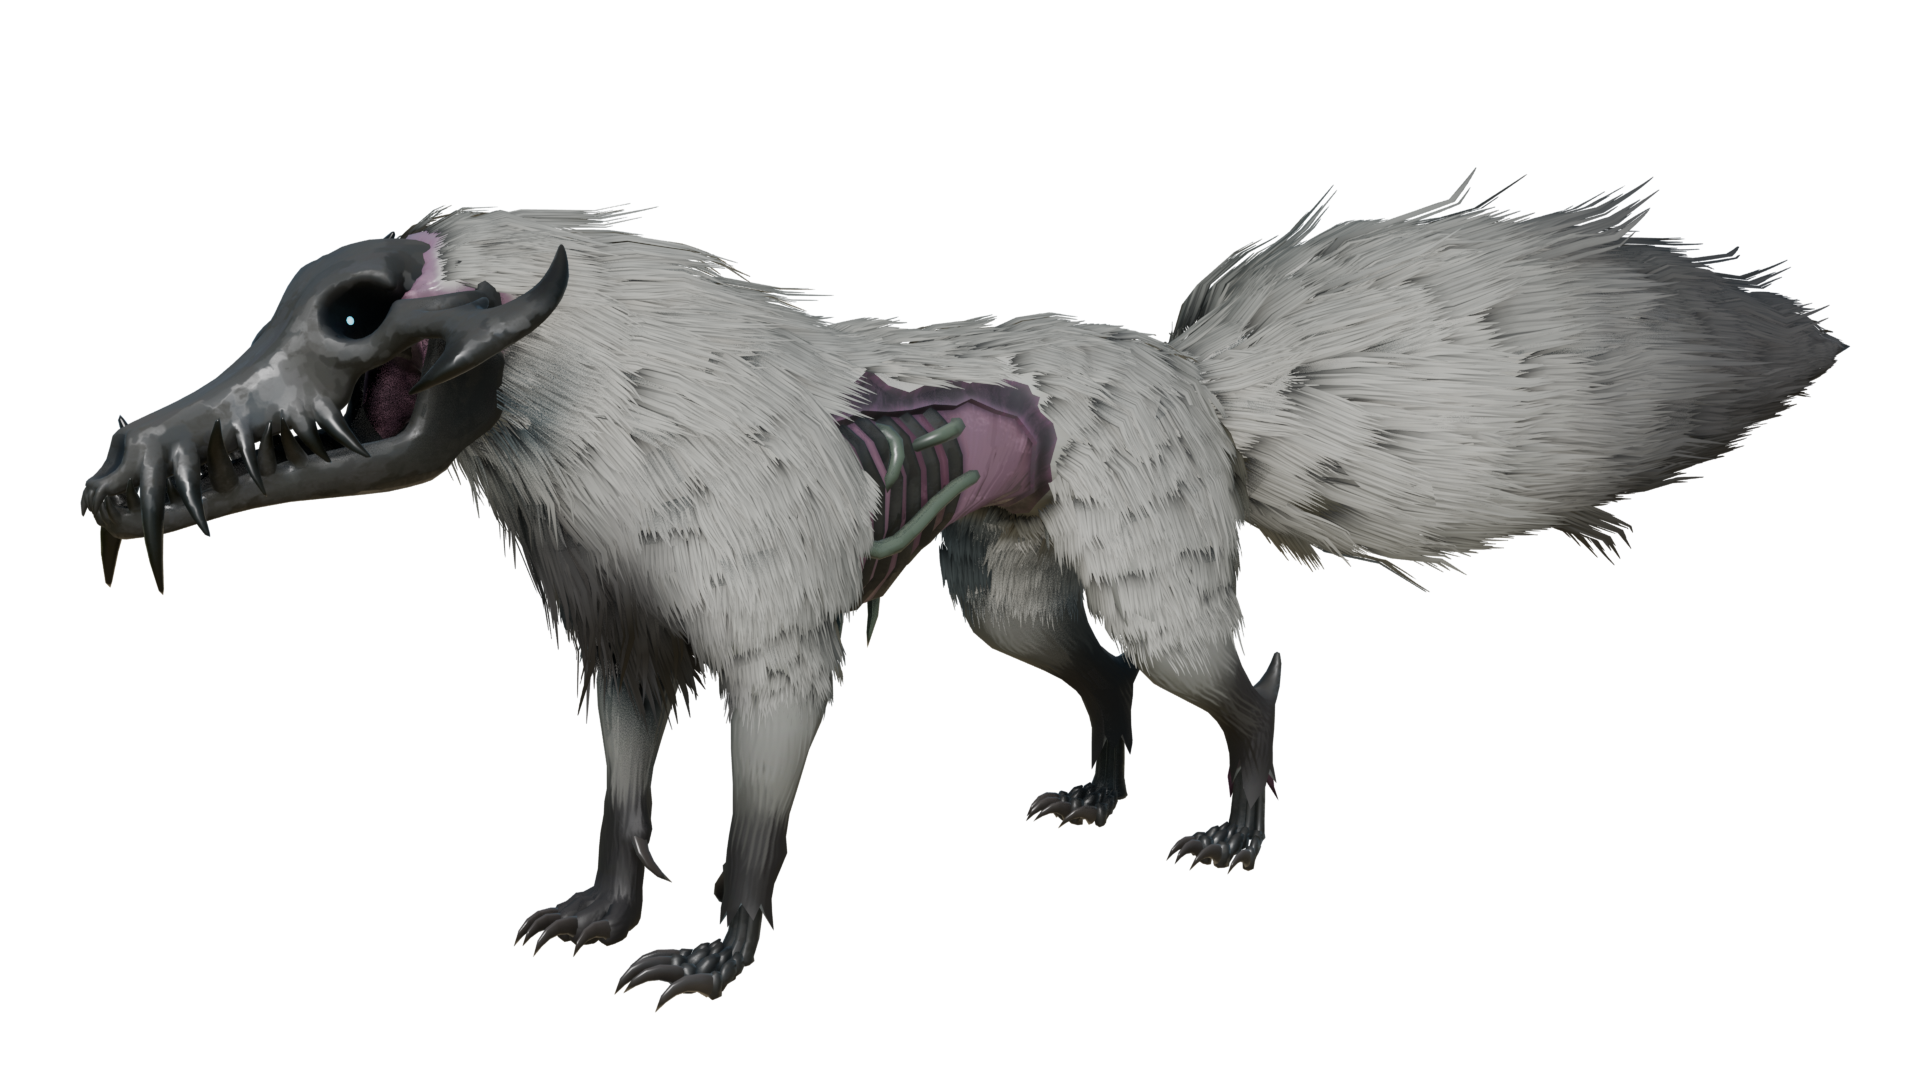
In the world of She Hunts, a multitude of furry creatures roam the tainted wilderness. In order to properly dress them in warm, fuzzy coats, a big bunch of custom hair cards was required. For a small developer team, this presented a serious problem; a cheap, flexible, intuitive and Godot-compliant system was not exactly easy to come by. Our solution was, what else, than to create a tailor-made toolkit just for us. This post showcases the generic workflow, and some of the capabilities of our tools.
Short Intro To Hair Systems
In games, there are multiple approaches to creating hair. The simplest, and most obvious, is to extrude jagged, vaguely hair-like protrusions from the model surface. Another popular choice is separate anime-style locks, which makes for impressive stylized visuals but often results in denser mesh overall. Whilst we weighed both of these as potential options, a decision was ultimately made in favor of a technique called hair cards. A hair card is a long rectangular mesh strip, onto which a partially transparent picture of a hair clump is mapped. Hundreds of cards are then scattered across a surface to create an impression of fur or hair. Though often associated with photorealism, it is also well suited for stylized applications.
Creating Texture Sheets
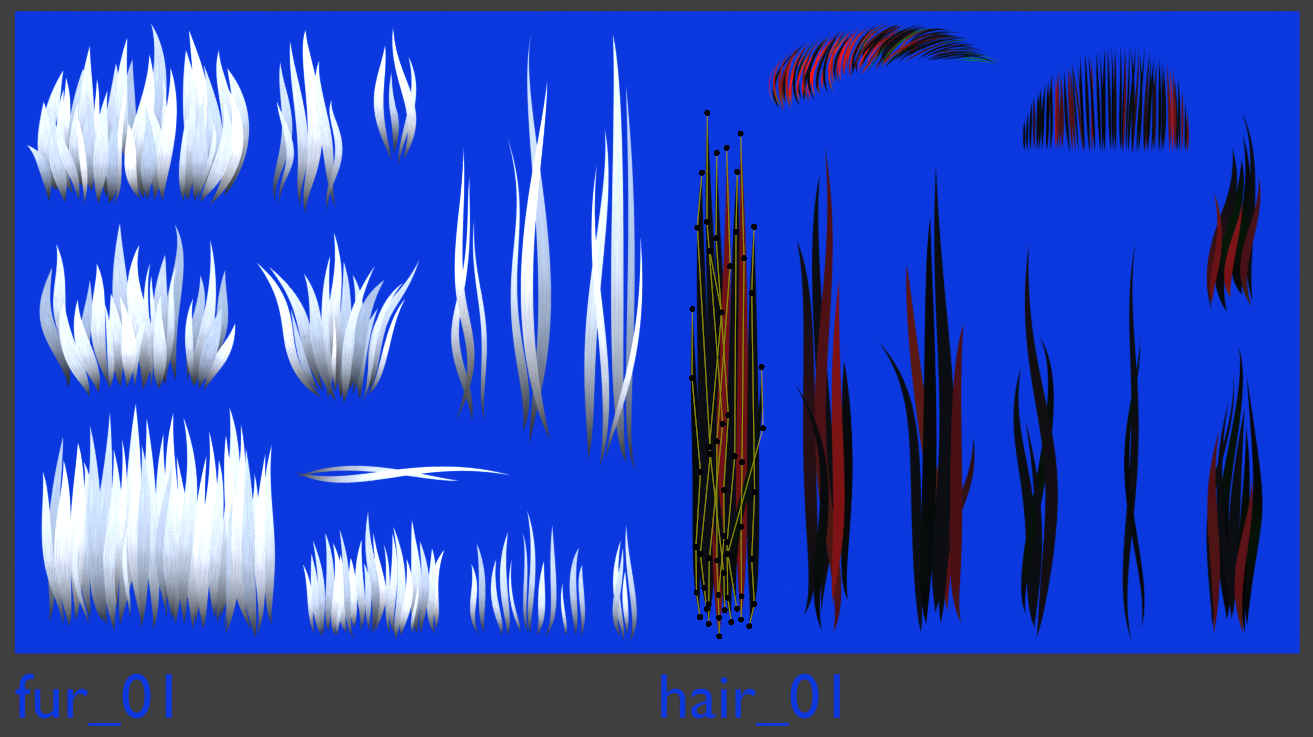
The first and most important step in the creation of hair cards is making the texture sheet. To emulate the painterly style of our other assets, a bunch of broad, flat curve strips are carefully laid on top of a plane representing the image bounds. Each strip has a basic stretched noise texture for detail, and a dark gradient towards the roots. Tilting a handful of curves randomly adds a bit of extra detail to the lighting response. Multiple clumps are fitted in one texture to make the most out of finite image resolution.
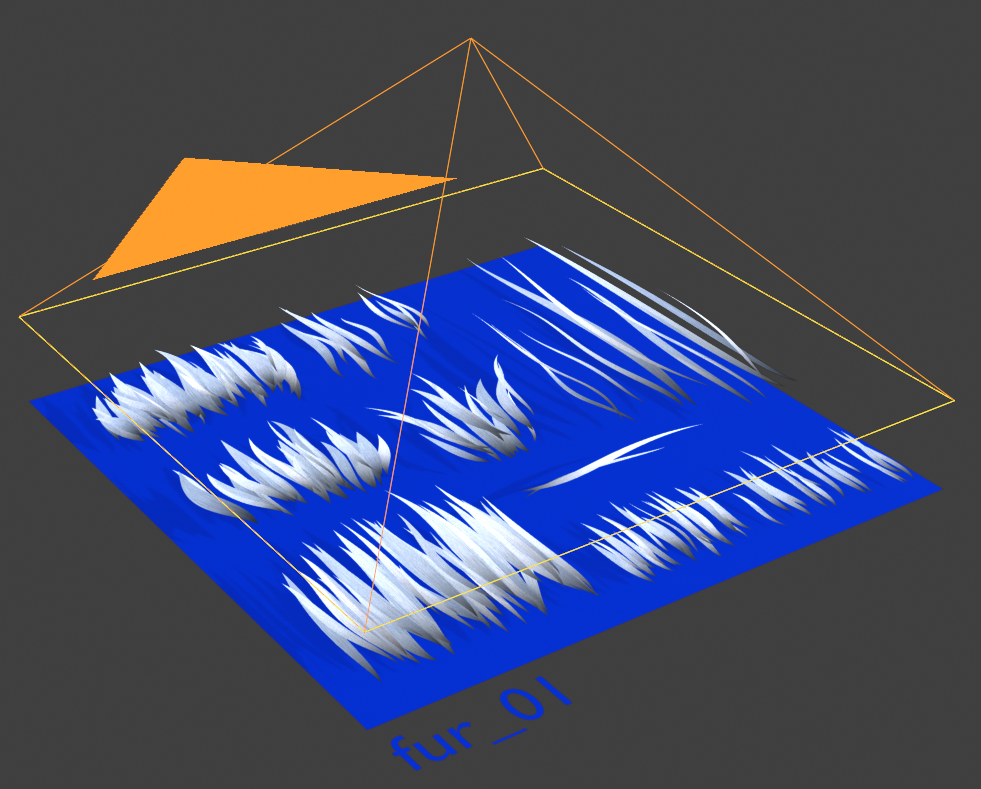
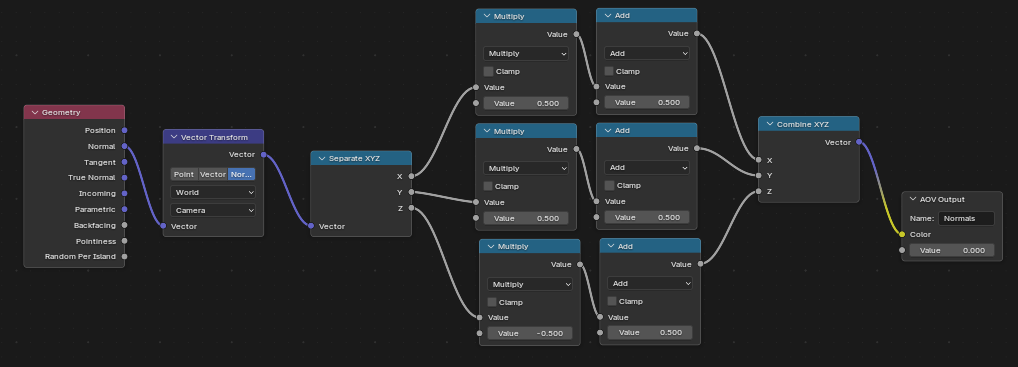
Once the hairs have been placed, they get baked to 2D textures using an orthographic camera hooked to some compositor nodes. Any material output lacking a dedicated rendering mode, such as the roughness map, is fed to the compositor via Arbitrary Output Value (AOV) nodes. Compared to a standard high-low bake, this method does take some more fiddling to set up properly. On the other hand, the single-button rendering, packing and export also speeds up the overall process considerably.
Generating Cards
With the textures done, it is time to move on to actually making the hair geometry. In conventional workflows, constructing the strands typically involves unwrapping a single elongate mesh strip and placing copies of it on the model over and over again. For obvious reasons, this approach was deemed too cumbersome for our use case. Instead, we utilize Geometry Nodes to generate the cards parametrically.
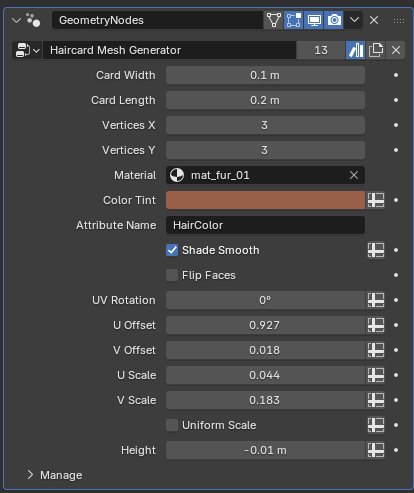
Under the hood, the generator makes a simple grid primitive and exposes all the important settings in a neatly ordered user interface. At a glance this might seem like overkill for what essentially boils down to making a subdivided plane. Then again, the intent is to make the process more approachable and standardized to our less technically oriented developers. Besides nondestructive editing, the most notable benefit is the option to use local library overrides for shared cloud assets. In layman’s terms, this means less files to download, and automatic updates to in-house tools.
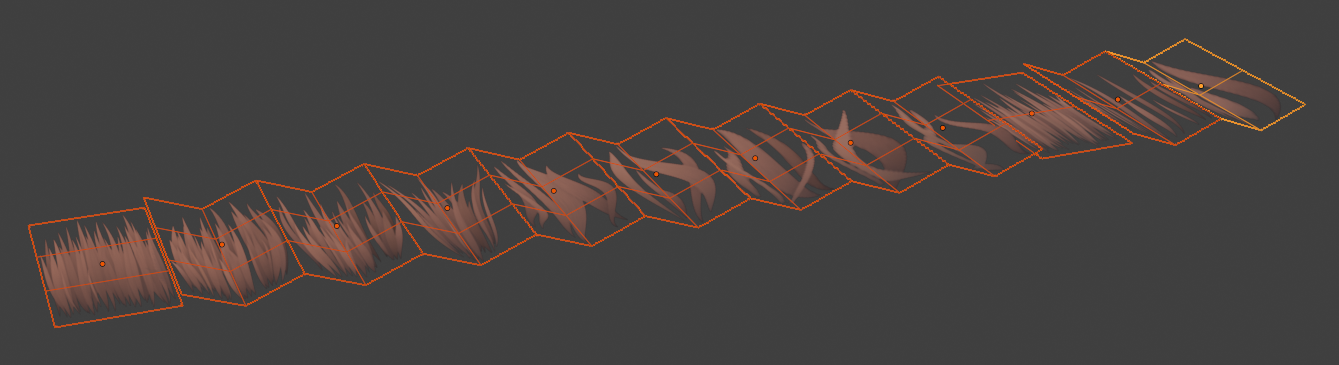
After building a set of cards, an Empty Hair object is parented to the character mesh. It acts as a kind of blank canvas, onto which curves can be painted. Having curves as the base object enables the use of existing sculpting tools for a quick base groom, whilst still allowing more precise tweaks to individual control points where needed.
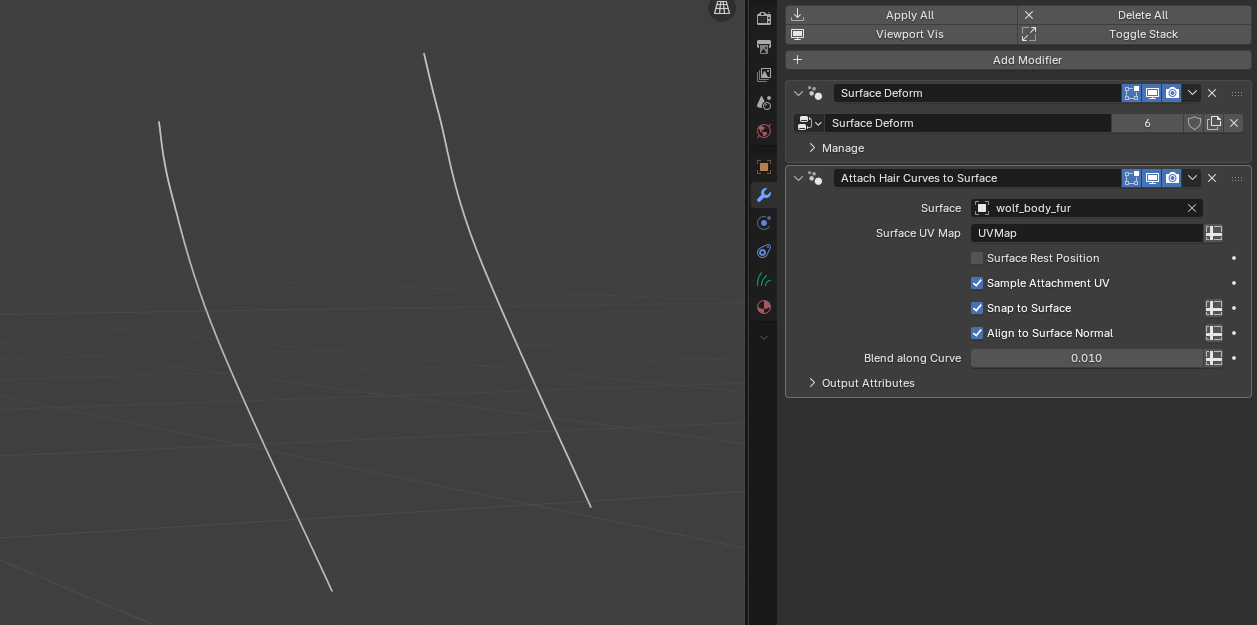
Though technically already usable as fur in Blender, for our purposes an additional step is required. Another Geo Nodes modifier, called Hair Card Curve Deform, is added to the stack. It takes a specific card mesh, and maps instances of it onto multiple curves at once. The cards take on the shape of their parent curves, while retaining full editability.
(Developer’s note: The big drawback is that the underlying vector operations have become basically black magic at this point. We try not to touch the node spaghetti in hopes that it will last through this project.)
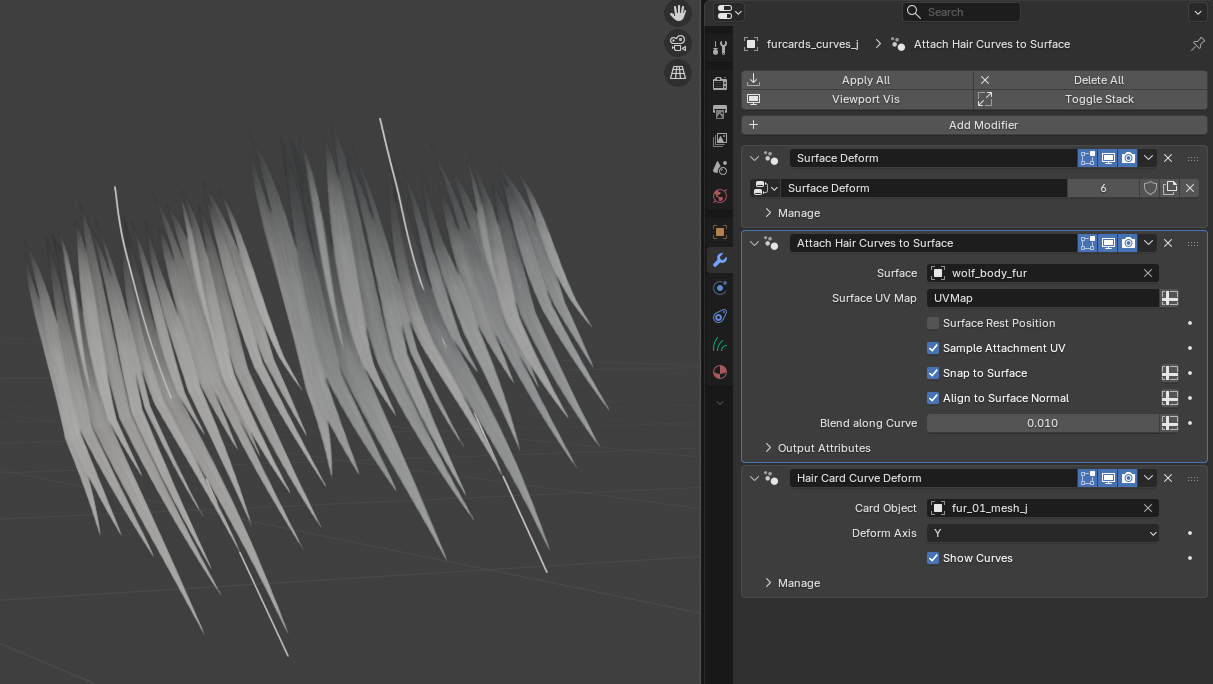
Fur Placement
The fur is laid down in several passes, beginning with nearly completely opaque sheets, followed by more varied breakup strands all the way to singular wisps of flyaway hairs. This construction ensures that the coat is convincingly voluminous, yet varied. As each clump type is housed within its own object, layers can be hidden temporarily when needed.
For the direction, or “flow” of hair, real-world references are used whenever possible. Both human and animal hair flow starts at the top of the head, flowing towards the extremities whilst affected by gravity. Patterns form as clumps overlap each other. Although we try to conform to these ground rules most of the time, a certain degree of artistic freedom is allowed with corruption-warped undead monstrosities.
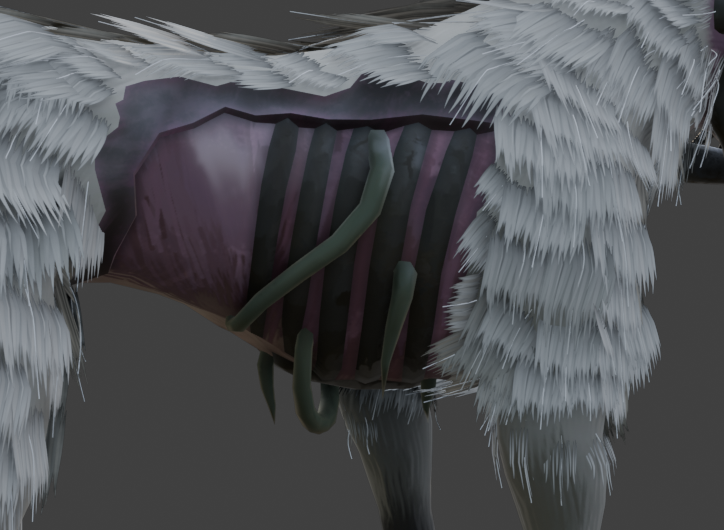
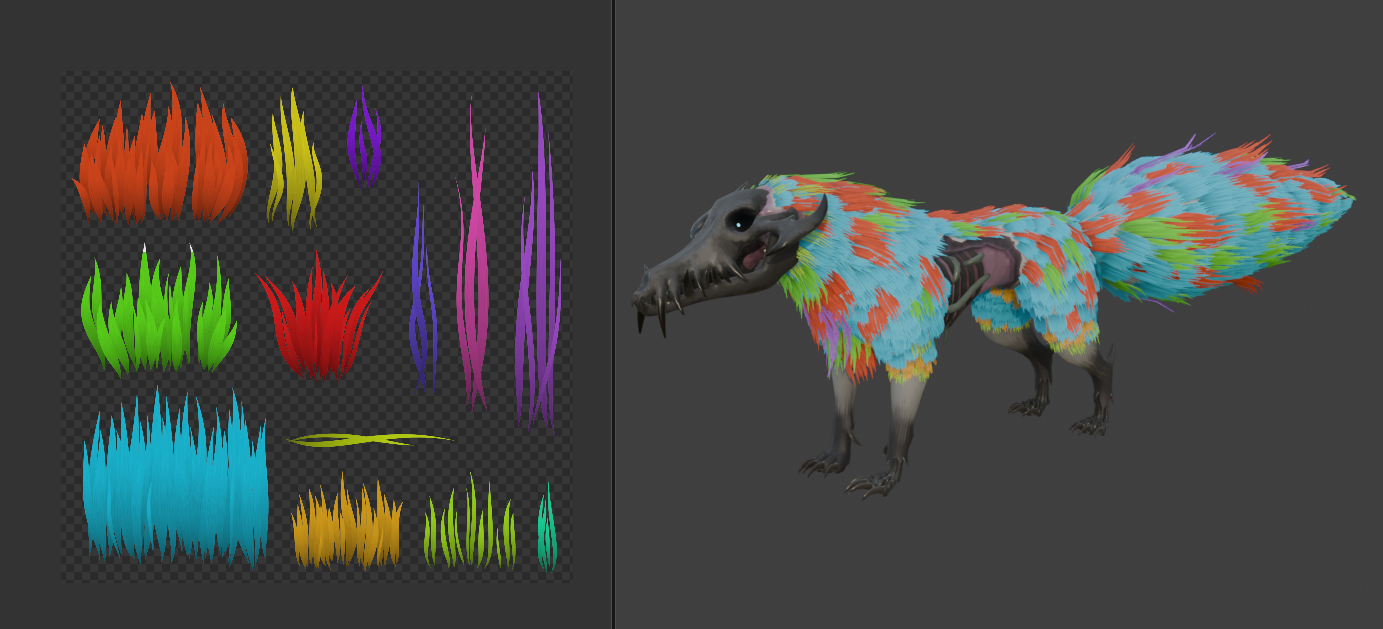
To cut down on the total amount of textures required, vertex color is used to tint individual clumps. This way multiple enemies can share the same cards, yet still have considerable variation in coat color and patterns. This method works out of the box with glTF 2.0 format, which has a setting to multiply vertex colors over albedo.
As a finishing touch, weights and normals are transferred from the base mesh to the fur. This hides any faceted highlights, and makes the coat look softer overall. Small transfer errors can be smoothed out by hand where needed.
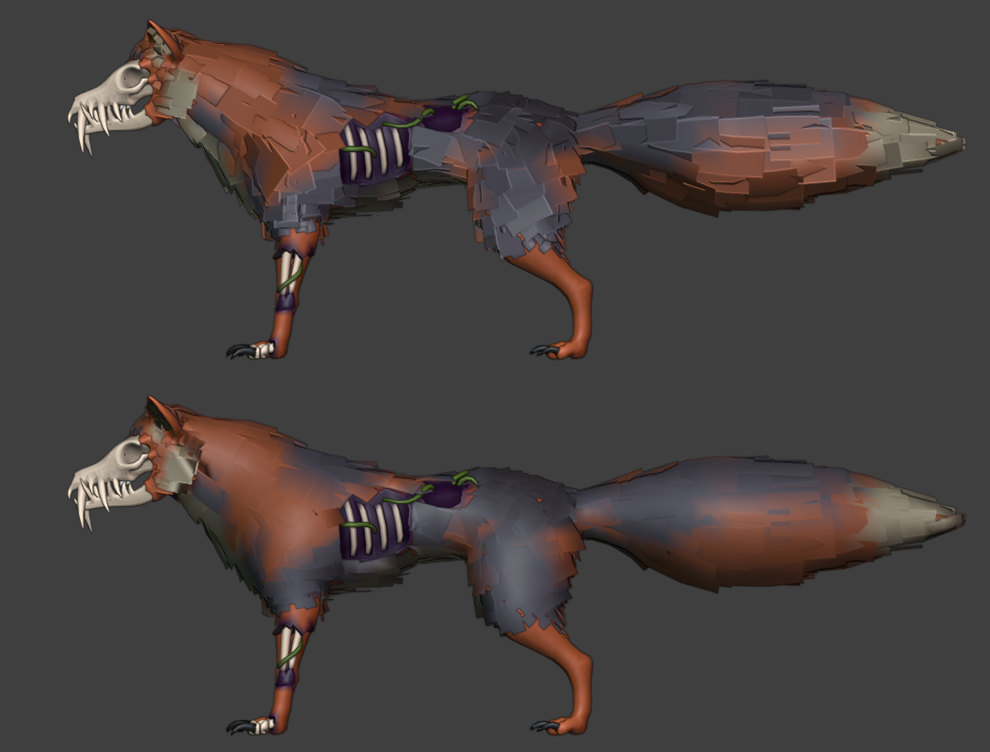
And with that, the fur is done. Fluffy, colorful, efficient and stylized - everything an indie title needs. While the solutions and techniques presented here are not novel in their own right, using them together in a setup like this is not utilized anywhere else. Besides fur, the system can also be easily tweaked to create feathers, foliage and other similar assets.
Once sufficiently refined, we hope to release these tools for a reasonable fee to other indie developers.